The same resources used in my 2010 trip were also used to plan my 2011 trip.
Training
I made minor modifications to my training regimen based on results of
last years trip. I increased the cardio training and at the same time
kept up the intensity of the strength training.
Every Sunday I did 10 mile
hikes with a full 30lb load.
I did stairs several times a week, and worked up to wearing a 30 LB
weight belt while doing the stairs.
I ran 2-3 days a week either outside or on the treadmill.
Food
Click
here for my complete food plan.
Once again, I made some
changes to my meals for this trip. It seems that on every trip I lose
my appetite after about 2-3 days on the trail. This trip I used my
dehydrator to prepare some of my meals, and I dried different kinds of
fruit as well.
I brought olive oil to supplement my caloric intake, but found that I could not handle the taste once I lost my appetite.
I planned an average of 1.4 to 1.8 pounds per day. I wound up losing 20 pounds of body fat over the 19 day trip. Since I had it to spare, it wasn't an issue, but for those who are already at their ideal weight, eating enough to not lose weight while on the trail may be a challenge. I estimated that I was burning 5000-6000 calories a day.
I made some of my own meals, and used some ready made meals from Pack-It
Gourment. Of all the meals I took on this trip, the ones from Pack-It Gourmet were the best!
I did bring one freeze dried on this trip. Beef Teriyaki. It was the one meal that I couldn't even eat. No more freeze dried!
I
will make more adjustments again next year. I may carry some
heavier food in my quest to find alternatives that I can eat.

Gear
My
base weight went up a little this trip. I carried my iPhone and
charger, and carried a heavier sleeping bag. I will leave the iPhone at
home from now on, it just was not worth the weight. My base weight was
18.4 LBS so about 2 pounds heavier than last year.
Click
here for my full gear list for this trip.
18.4 lbs Base weight
28.3 lbs Fully loaded leaving Tuolumne Meadows
34.3 lbs Fully loaded leaving MTR (Muir Trail Ranch)
Certainly not SUL or even UL, but not too bad...
Changes made to my gear choices for
this trip:
Sleeping pad
New for 2011 was a lightweight pad by Exped. The Exped Synmat UL
7. I REALLY like this airpad. I slept as well on the trail as I
do at home. Sweet!

Sleeping bag
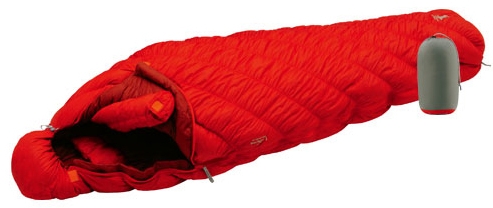
Since I was a bit cold last year, I switched my Montbell SS #3 for a Montbell SS #1.
It is rated to 15 degrees. I love the Montbell bags. The 'stretch' factor is amazing.

Stove
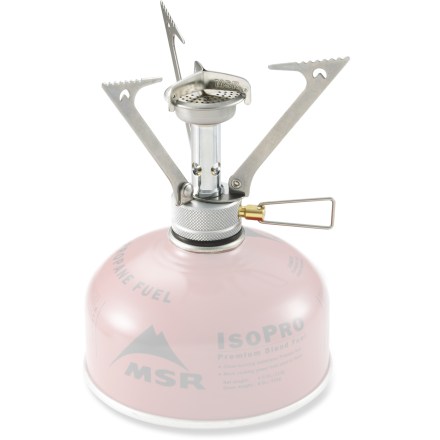
I switched back to my MSR Pocket Rocket stove. I have used this stove
for many years and it is bullet proof. I experimented last year with an
alcohol stove, and although I liked it, I prefer the canister stoves.

In the past, I have always taken more fuel than actually needed. I usually have a full canister left over at the end of the trip!
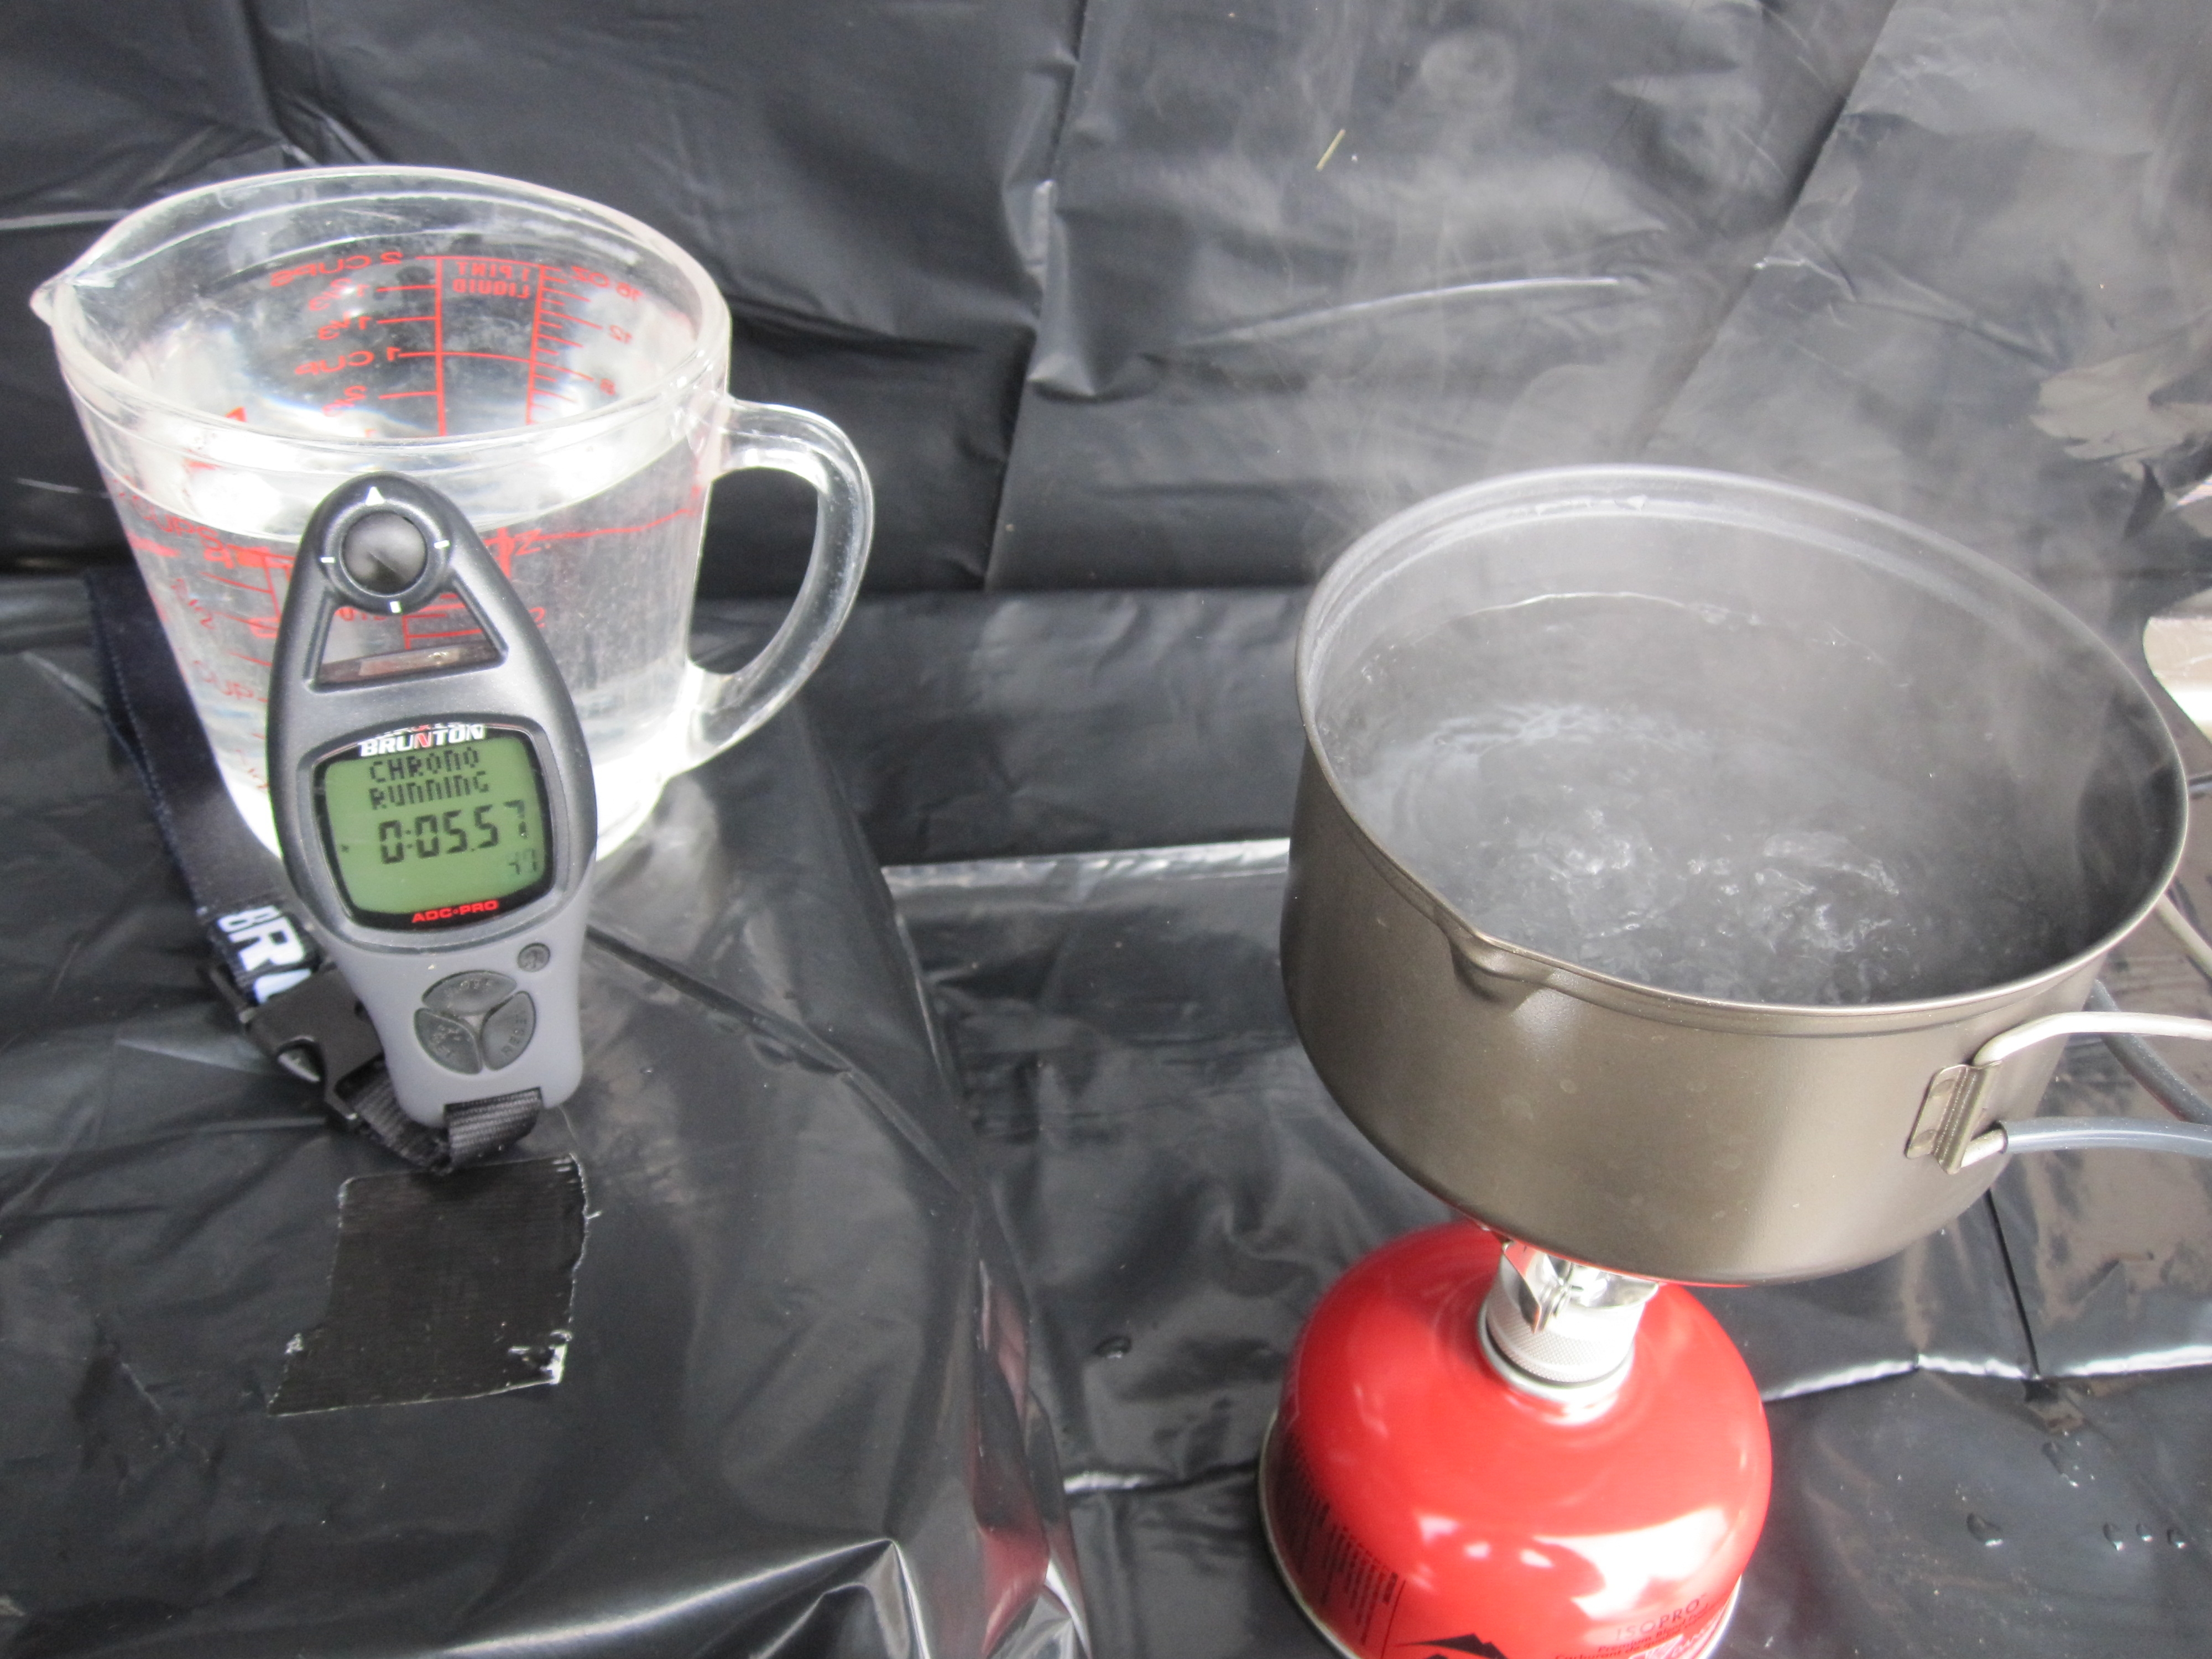
So, this time I did my homework. I bought a full canister, and ran a trial of how many liters I could boil using a single 8 oz canister.
Results are below. Using this information, I only carried a single 8 oz (small container) of fuel. I purchased a replacement container at MTR, and had plenty of fuel for the remainder of the trip.
Elevation at the test site was 500 ft.


iPhone, GPS software
I wanted to see how my iPhone would work as a GPS, book reader, MP3, camera, video camera, etc.
I also took a New Trent charger to re-charge the iPhone.
I was hoping that if I really liked the iPhone I could leave my dedicated GPS, MP3 player, book, camera etc at home and just use the iPhone.
I found that even with the extra battery pack, the battery life went down far too fast if I had the GPS mode enabled, or used it much for photos and videos. Just didn't work for me. No reason to bring it if I still have to bring the other devices.
Water / camp shoes
Last year I brought Sprint Aquatics for water/camp shoes. They are fine
for a day or two, but shredded after a few days. This year I tried
Vincere Grip socks. 3.7 ounces for the pair. They worked fine, and I
will use them again in the future. The only downside is that they do
take a couple of hours to dry. If you get them wet at the end of the
day, they may not be dry for camp shoes.

Resupply
I mailed resupply boxes to Reds Meadow and Vermillon Valley Ranch with extra
food, extra batteries, sunscreen, soap, etc. I also arranged with
Sequoia Kings Pack Train to bring me a resupply by horseback at
Charlotte Lake.
All resupply locations worked without a hitch.
Doing this trail without the resupply service offered by Reds, VVR, MTR and the packers would be difficult at best.
So THANK YOU!
My resupply at VVR had a lot of non-trail goodies in it since I was doing a zero day there. I had extra tennis shoes, a cotton shirt, a book, soap. etc in the box. I just left the extra things in the hiker barrel so the next hiker could make use of them.
In my resupply at Charlotte Lake, I had a boatload of treats. Peaches in juice, Pringles, stew (not dehydrated!!), cookies, etc. Since I knew the packer would take out my trash on my way out, I had a feast! Whoever would have thought that peaches in juice could be SOOOOO good?
I also did a drop box to my final destination, the Dow Villa motel in Lone
Pine. This way I could ship my traveling clothes and my duflfle bag so
it was ready for me when I exited the trail. I was prepared to ship the
box to the hotel once I was in Mammoth, however I was fortunate that my
father in law, who joined me for the first 4 days of the hike, was able
to hand deliver my box to the hotel.
Instructions for resupply:
Tuolumne Meadows (I didn't resupply here but the info is provided for those who may)
Reds Meadow
Vermillion Valley Resort (VVR)
Berners Pack (Sequoia Kings) (contact the Berners for up to date information)
Permits
A lot of folks struggled with getting their permits this year. Seemed more were getting denied than accepted, even when they faxed in their application the minute it was permissable. I was one of the lucky ones. My first try netted me a permit on the day and trailhead I wanted. Information about the permit process and Trailhead availability can be found on the Yosemite Wilderness www.nps.gov website.
Transportation
The logistics of getting to and from the trailheads, and resupply along
the trail require some thought and planning.
For this trip, I chose to fly from MN directly into the Mammoth Lakes airport, and then take the YARTS bus from Mammoth to Yosemite. This worked perfectly and was much easier and more pleasant than entering Yosemite from the West side. Mammoth is a nice little town to visit, is at a higher elevation, and has everything I needed within walking distance of my hotel. Good food, an outfitter for fuel and last minute supplies, and an easy bus ride from Mammoth Lakes to Tuolumne Meadows.
Getting home, after exiting the trail at Whitney Portal was not so easy!
- I hitched a ride from Whitney Portal to Lone Pine
- Stayed 2 nights in Lone Pine since the bus does not run every day
- Took a bus from Lone Pine to Ridgecrest (the closest town with one-way car rentals)
- Rented a car and drove to Fresno
- Took a flight back to MN from the Fresno airport
There are certainly many other options for getting from Witney Portal to wherever you need to go, but none of them are easy!
|


